
How to Make Buttermilk from Milk: A Simple Guide for Every Home Cook
Ever started a baking recipe and realized you’re out of buttermilk? Credits: Maryam Sicard | Unsplash There’s nothing quite like


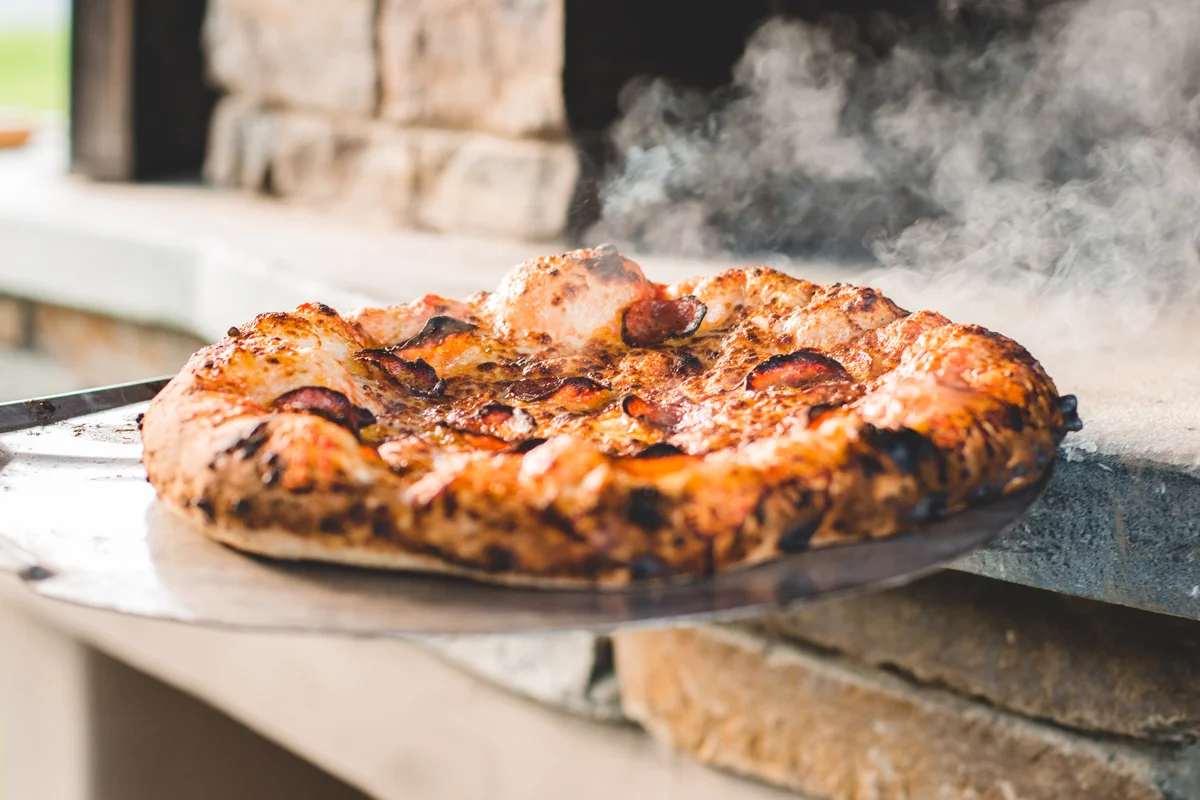
Okay, let’s be honest, my pizza stone has seen some things. Things like a calzone disaster that left a cheesy mess all over it. Or that one time I forgot to flour it, and my pizza base got stuck to the stone. Frustrated me would always consider simply buying a new one every time I used it, but my wallet and conscience quickly objected. My last hope? Scrubbing it with soap. But will it ruin it? That’s a serious question!
If you’re like me and struggling how to clean a pizza stone without damaging it, you’re in the right place, because this guide is just for you. Let’s break it down step by step.
To avoid accidental damages to your pizza stone keep a few things in mind, before you start cleaning it.

Hold on a second! Before you dive straight into cleaning, you absolutely need to know what your pizza stone is made of. It’s not a “one-size-fits-all” approach. Pizza stones come in ceramic, cordierite, cast iron or even baking steel and each material has its own specific care instructions. Knowing yours is the secret to choosing the right way to clean your pizza stone, protecting it from cracks or damage, and ensuring it never absorbs unwanted flavors.
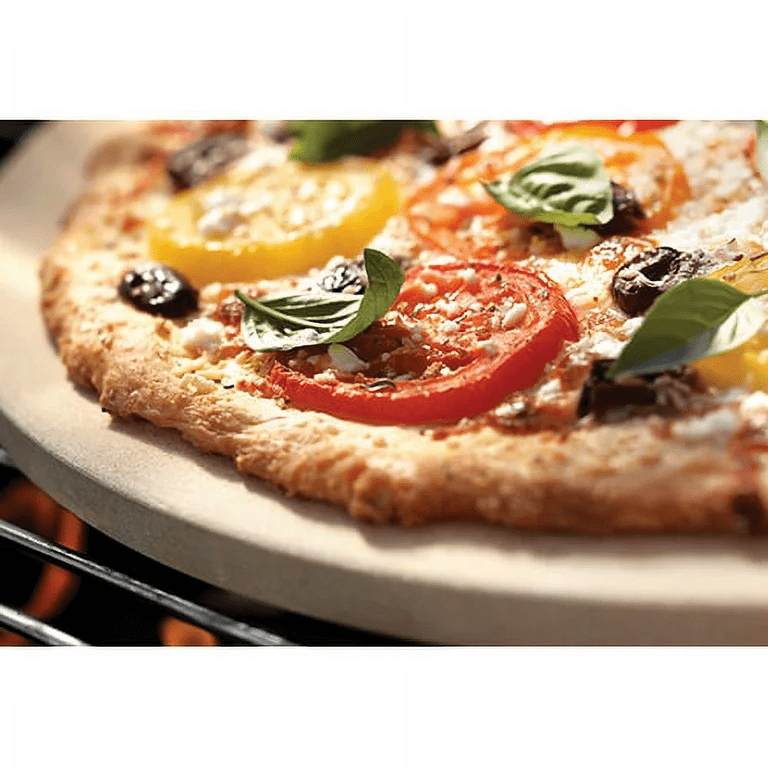
Let’s start with ceramic pizza stones, as they are the most common types you’ll encounter. Known for being durable and relatively easy to clean, keeping yours in top shape requires just a few simple steps and the right tools.
You’ll Need:
Step 1: Cool it completely
Don’t wash your stone right away. Always let it cool completely to room temperature. This is crucial to prevent thermal shock which can cause your stone to crack.
Step 2: Scrub the surface
Once the stone is cool, wet the surface with a small amount of hot water. Just a gentle wetting will help loosen any grime. Remember, don’t soak it! Then, grab your pizza stone brush or a nylon dish brush and scrub the surface.
Just remember: NO SOAP! This is one of the most important pizza stone cleaning tips. Ceramic stones are porous and will absorb soap, leaving a funky taste on your next pizza.
Step 3: Scrap it off
For those stubborn, stuck-on food from pizza stone bits, grab your silicone pan scraper or a spatula. Gently scrape away any baked-on food or char. You don’t need to press too hard; the goal is to lift the residue, not damage the stone.
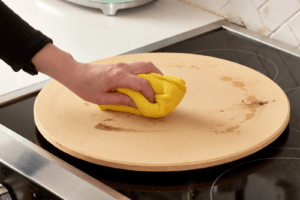
Step 4: Wipe away residue
Take a slightly damp (and we mean slightly damp, not wet!) cloth and wipe down the entire surface. This will pick up any remaining crumbs and light residue, leaving your stone cleaner.
Step 5: Dry the stone
This step is essential for maintaining a pizza stone. Always allow your stone to air dry completely before storing it. Any moisture left behind can lead to cracking the next time it’s exposed to high heat. If you’re short on time, you can thoroughly dry the stone with a clean, dry dishcloth, but air drying is always best. You can even place it in a cool oven with the door ajar to help it dry out fully.
(Note: Don’t worry about any discoloration, because the natural properties of the baking stone will cause it to darken and spot with age, so do not attempt to remove this discoloration.)
Got a cordierite or glazed pizza stone? You’re in luck! These beauties aren’t quite as porous as the ceramic ones, thanks to their sleek finish. This means you can be a little more generous with water during cleaning. But here’s the golden rule again: still no soap!
You’ll Need:
Step 1: Scrape Away the Mess
Just grab your silicone pan scraper and get straight to work, gently scraping off any leftover food bits or char from your pizza stone, make sure it’s cool.
Step 2: Scrub Under the Tap (Carefully!)
Once your stone has fully cooled, run it under hot water. While the water flows, vigorously scrub the surface with your pizza stone brush or a nylon dish brush. Remember: absolutely no soap! (Note: steer clear of metal tools. They’ll scratch that smooth non-stick finish.)
Step 3: Dry It Out
Allow your stone to air dry completely before storing it. A cool oven is a perfect spot for it to finish drying, ensuring it’s ready for your next pizza night.
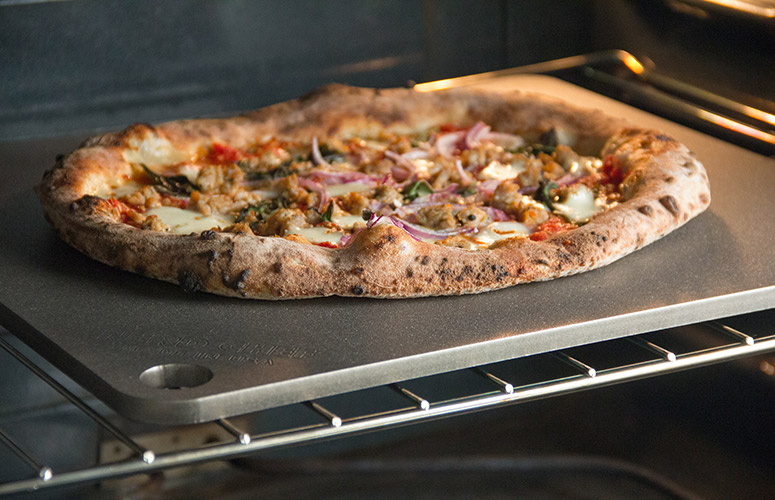
Baking steel pizza stones are the superheroes of the pizza world, known for their incredible heat retention and crispy crusts. But their most important secret? Keeping that seasoning intact! Unlike other stones, it’s all about oil, not excessive water or (heaven forbid!) soap.
You’ll Need:
Step 1: The Quick Clean-Up
No complicated rituals here! To clean your baking steel, simply use a silicone pan scraper to gently scrape off any leftover food bits. Follow up with a damp dish cloth for a quick wipe-down, then immediately dry the steel thoroughly. Water is the enemy of seasoning if left to linger!
Step 2: Re-Season After Every Use
This step is non-negotiable for maintaining a pizza stone made of steel! After every use and clean, rub your baking steel with a light, even coat of vegetable oil. This simple act replenishes the seasoning and keeps it performing like a champ.
Step 3: Deep Seasoning (Optional step)
Your baking steel comes pre-seasoned, but you can build up an even more robust, non-stick surface by repeating the process two to three times, brushing it with a light coating of oil, then baking the steel in a hot oven for an hour at 400 degrees Fahrenheit. This deep seasoning is your secret weapon against rust and will make removing stuck-on food a breeze in the future.
Step 4: Keep It Dry & Safe
Once clean and oiled, always store your baking steel in a dry indoor spot. Remember, even a beautifully seasoned steel can eventually rust if left in a humid environment.
It’s totally normal for a pizza stone to develop some stains overtime, that’s part of its charm and lets just call these dark spots your stones “freckles”, sounds better, right?. But if you’ve got burnt cheese or food stuck on the surface, here’s a simple and effective hack to clean it using a super ingredient you probably already have in your kitchen.
You’ll Need:
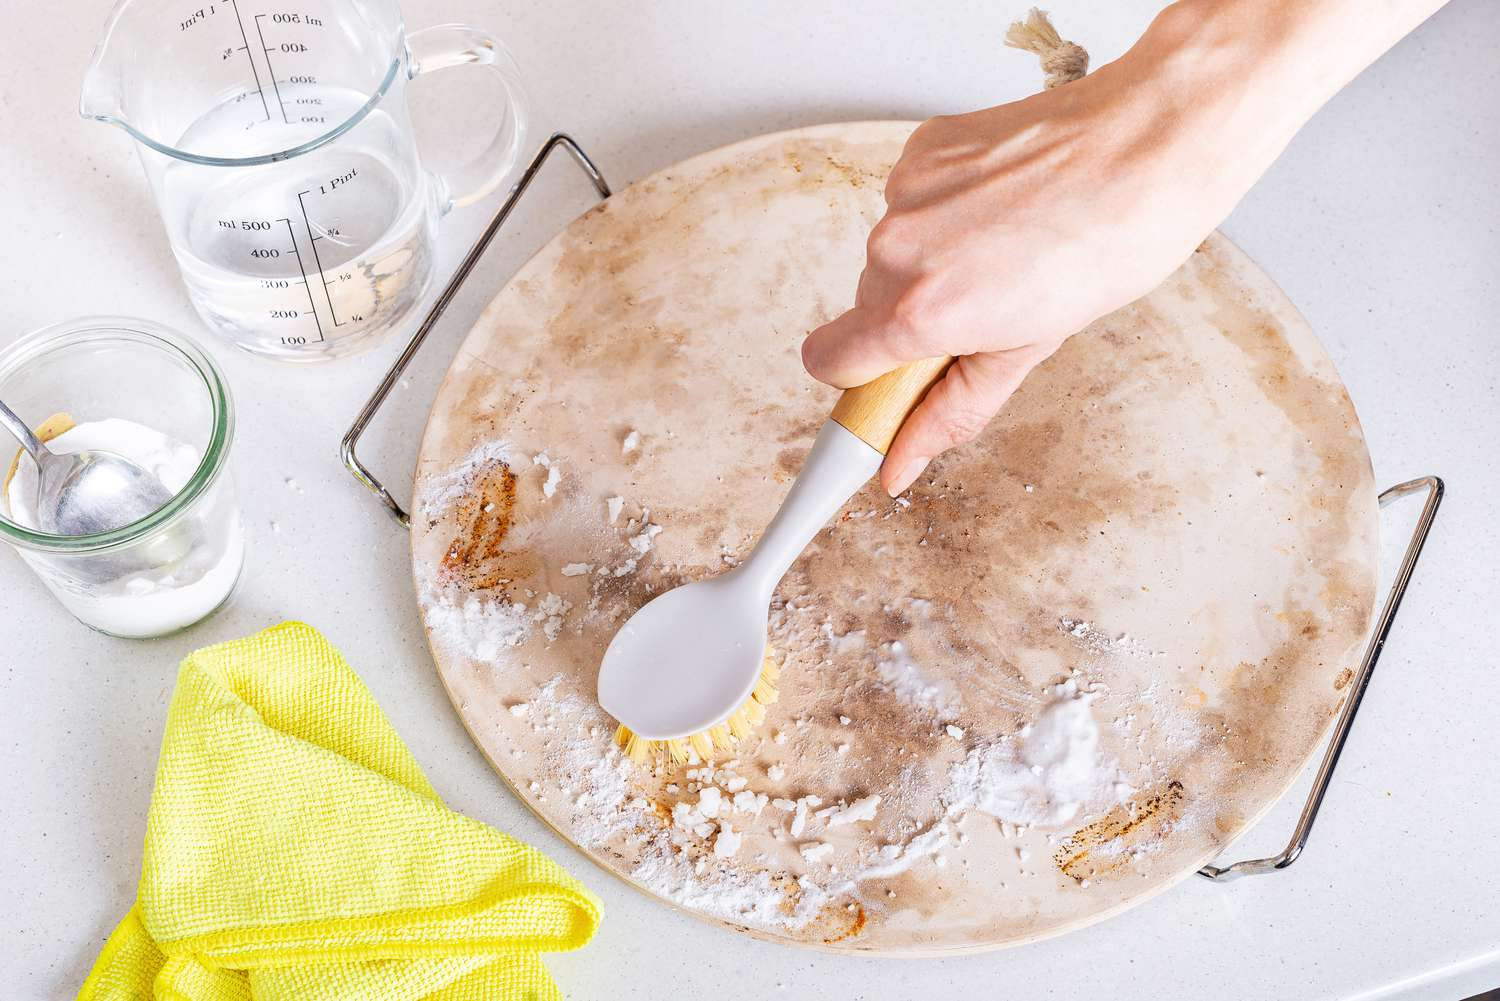
Step1: Make a paste
Mix a few tablespoons of baking soda with a little water to form a thick paste (consistency should be like a toothpaste). This gentle, natural cleaner helps lift off tough, baked-on residue without damaging your stone.
Step 2: Apply and let it sit
Spread the paste over the stained or burnt areas. Let it sit for a few minutes so it can work its magic and loosen the stuck-on bits.
Step 3: Scrub Gently
Use a pizza stone brush or a Nylon dish brush to scrub the paste into the stone. Focus on the problem spots, but don’t go too hard, gentle scrubbing is enough.
Step 4: Wipe It Clean
Wipe away the paste with a damp dish cloth or paper towel. You might need to go over it a couple of times to get it fully clean.
Step 5: Let It Air Dry
Once cleaned, allow the pizza stone to air dry completely before using or storing it. If you like, give it a final dry wipe with a clean dish cloth to remove any leftover moisture or residue.
Just like avoiding pineapple on pizza (unless you’re into that!), there are some definite “don’ts” when cleaning your stone. Messing these up can really upset your stone and, well, ruin it! Let’s save your stone from these classic pizza stone cleaning blunders.
1- Cleaning it while it is hot
Imagine pouring ice water on a super hot glass, CRACK! That’s basically what happens if you try to clean a hot pizza stone with cold water. Have patience and always let your stone cool down completely before you even think about cleaning it.
2- Putting the stone in the dishwasher
We get it, dishwashers are tempting. But please, never let your pizza stone near a dishwasher! The long soak times, super hot water, and aggressive detergents are a triple threat that will lead to cracking, soap absorption, and ultimately, a ruined stone. So my friend, resist the urge of sliding it in the dishwasher with the rest of the dishes because your hands are the only tools for this job!
3- Choosing the wrong tools
When you’re trying to get that burnt pizza stone sparkling, don’t reach for anything too harsh. Anything metal on the stone can scratch the surface so stick to soft helpers like nylon brushes, silicone scrapers, or just a good old dishcloth.
4- Using soap or an oven cleaning cycle
Are you still washing your pizza stone with soap? We’ve said it before, but it’s crucial, NO SOAPS PLEASE! It will soak into your stone and make your next pizza taste like… well, soap. And your oven’s self-cleaning cycle might look like an easy way out but it’s actually not. The extreme temperatures are way too hot for your stone and can cause serious damage or cracking. So remember to keep soap for dishes and self-clean for the oven walls!

Your pizza stone can last a lifetime with proper care. But this is where it gets a little tricky because it’s super important to know what kind of stone you have to keep it in great shape.
Well, now you know it all depends on your stone’s material:
For Ceramic and Cordierite Pizza Stones: NO OIL!
If your stone is ceramic or cordierite, never oil your pizza stone! These stones get “seasoned” naturally from your cooking. Adding extra oil can make them sticky or spoil. The best way to maintain pizza stone types like these is to just let them do their thing naturally.
For Baking Steel and Cast Iron Pizza Stones: OIL IS A MUST!
Now, if you have a baking steel or cast iron pizza stone, it’s a totally different story! For these types, seasoning pizza stone after cleaning with a thin layer of oil is very important. It keeps them non-stick and stops them from rusting.
Now your pizza stone is clean and ready for your next baking adventure. But we think there’s just one last question remaining, where should you store it? We’ve got a couple of good options, depending on what works best for your kitchen!
Option 1: Oven
Lots of pizza lovers just keep their stone right in the oven all the time. It’s super handy! It saves you the hassle of moving a heavy, fragile stone and even helps regulate oven temperature by reducing hot spots. Plus, if you use it often, it’s always ready to go!
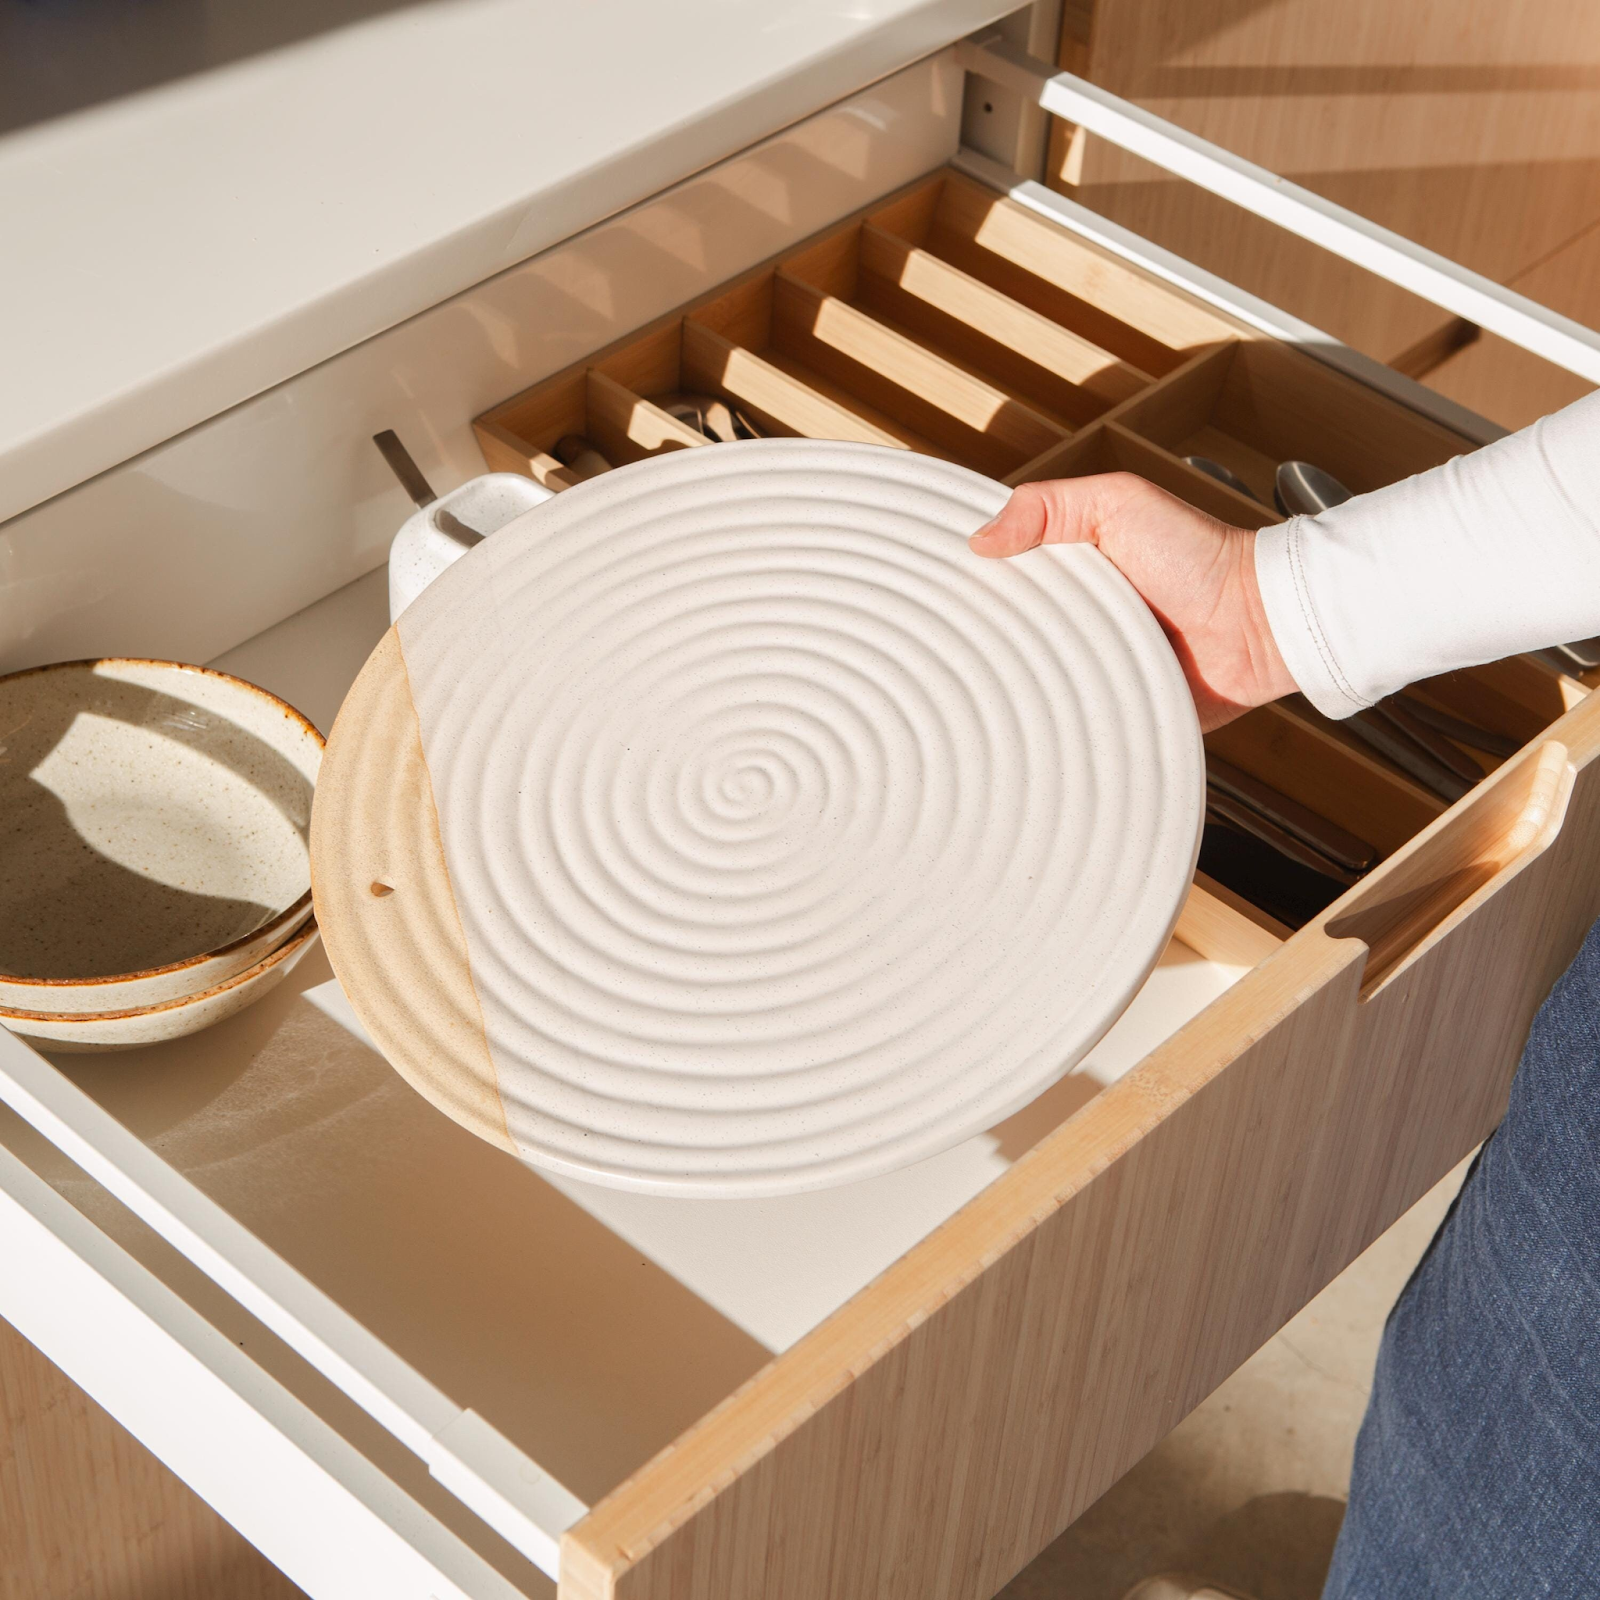
Option 2: Cabinet
Keeping it in the oven isn’t for everyone. Maybe your oven is small, or you just find it gets in the way when baking other things. No problem! Store it in a cabinet or pantry, but be sure to place it somewhere safe. Keep it flat, and don’t stack heavy pots or pans on top of it to avoid cracks or chips.
No matter where you store it, a little simple care means you’ll enjoy years and years of delicious, homemade pizza!
Cleaning your pizza stone doesn’t have to be a chore, it’s all about knowing the right steps. You’ve learned that your stone’s material matters, why soap is a big no-no for most, and how a little gentle care keeps it happy. Those dark marks? They’re totally normal and just part of your stone’s pizza-making journey! By following these simple tips, you’re not just cleaning, you’re setting yourself up for years of amazing, crispy-crusted pizzas. The more love (and slices) it sees, the better it gets, so go ahead- bake, enjoy, and repeat!
Got any pizza-making disaster stories or a cleaning “oopsie” moment to share? We’d love to hear your tales in the comments below!
Ever started a baking recipe and realized you’re out of buttermilk? Credits: Maryam Sicard | Unsplash There’s nothing quite like
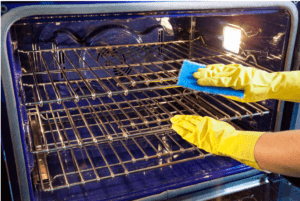
Possibly the most dreaded task when cleaning your kitchen lies in the oven. Cleaning oven racks, or shelves, when baked

One-pot meals are becoming everyone’s favorite cooking hack. Whether you’re a busy mom or a business professional needing to make

Baby Bunnies – Uniquely made creatures. Do you know that baby bunnies are born deaf, blind, and without fur? Shocking,
Okay, let’s be honest, my pizza stone has seen some things. Things like a calzone disaster that left a cheesy

There are many benefits of owning down comforters. Besides the obvious enjoyment of sleeping under a lightweight, soft, and warm